

OBS!
Bloggen är tyvärr fortfarande bättre i den Engelska versionen. (Du byter uppe i vänster hörn)
Denna guide instruerar dig hur du jailbreakar din iPhone 3G. Denna guide har blivit uppdaterad för att fungera med 2.2 mjukvaran.
Om du är ute efter att låsa upp eller jailbreaka din 2G iPhone genom att använda Pwnagetool hittar du en guide här:
here.
Om du har en iPhone 3G kontrollera så du har iTunes 8.0.2 innan du fortsätter...
Steg Ett
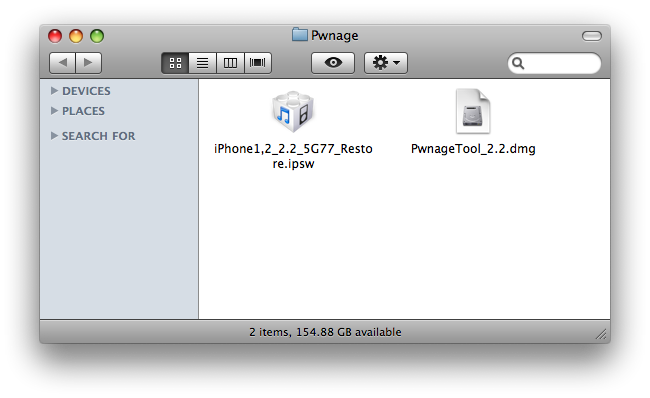
Gör en mapp som du döper till "Pwnage" på ditt skrivbord. I den behöver du ett antal filer Pwnage 2.2, hittar du här eller här
Du behöver också 2.2 iPhone mjukvaran.
2.2.0 (3G): iPhone1,2_2.2_5G77_Restore.ipsw
När du laddat ner IPSW filen är det lättast att göra det med Firefox!
Steg två
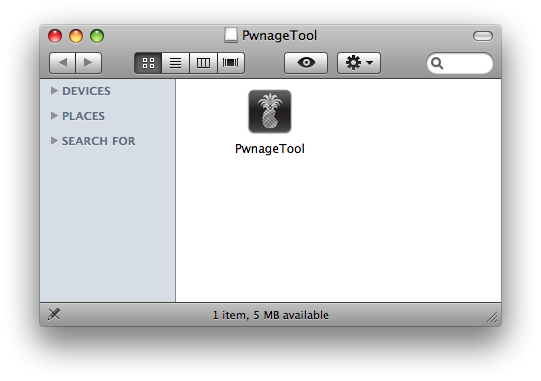
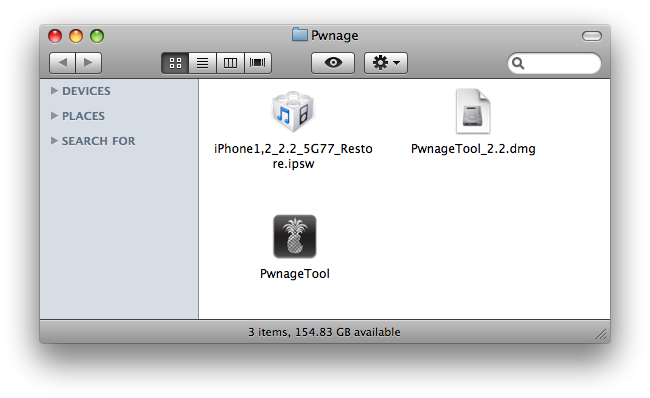
Dubbel klicka för att mounta PwnageTool 2.2 dra sedan PwnageTool ikonen in i Pwnage mappen.
Klicka sedan på Pwnage mappen och starta PwnageTool.
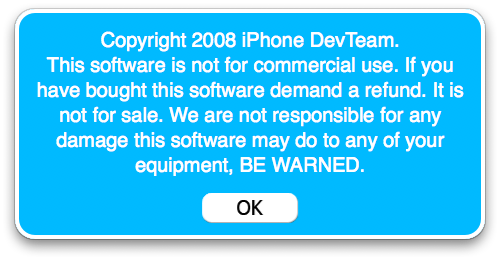
Klicka Ok ifall du får ett varningsmedelande,
Steg Tre
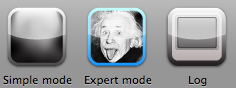
Välj Expert Mode från den övre menyn
Steg Fyra
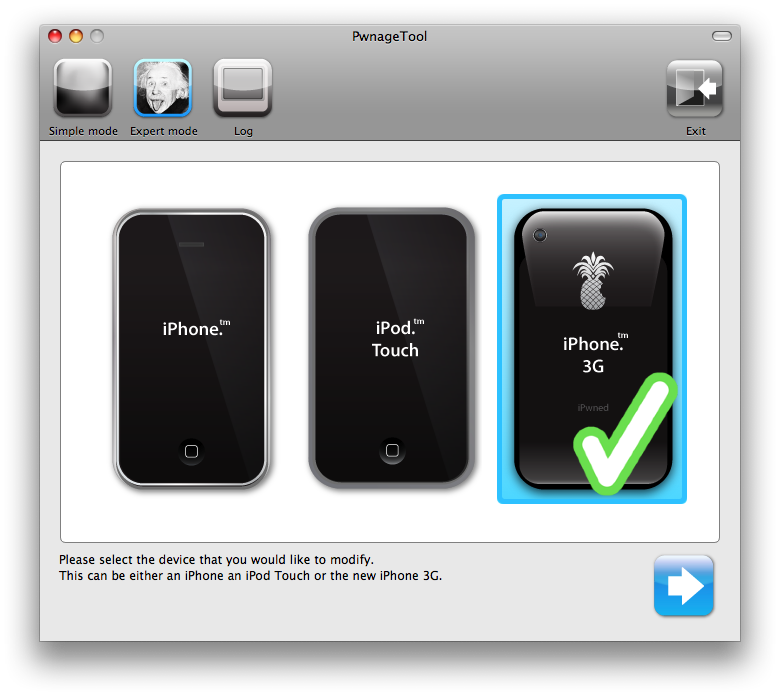
Välj din iPhone.
Steg fem[
Klicka den blåa pilen för att fortsätta. Du kommer nu till steget då du skall välja din IPSW. På min dator hittas filen direkt. Om PwnageTool inte gör det automatiskt får du göra det manuellt.
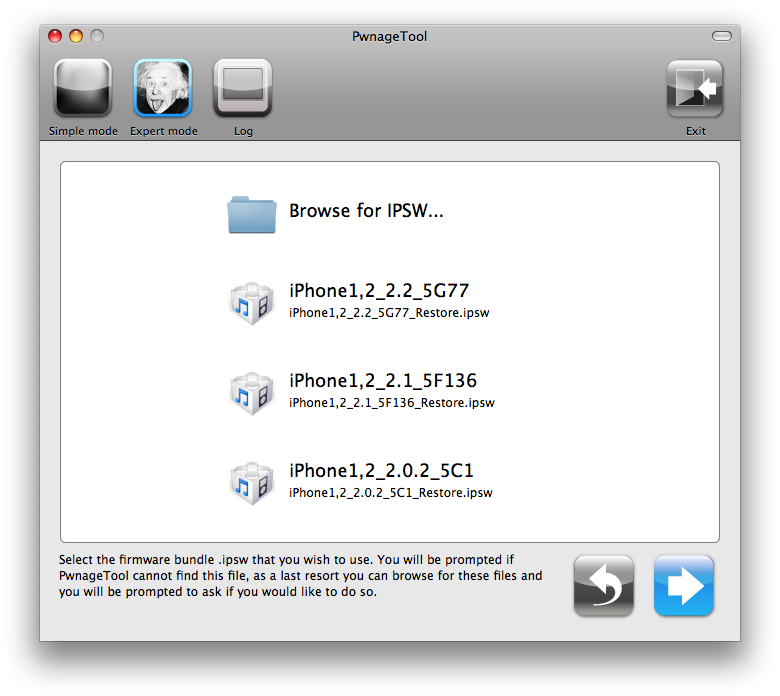
Click to select the found IPSW file, a checkmark will appear next to it. Then click the blue arrow button to continue.

Step Six
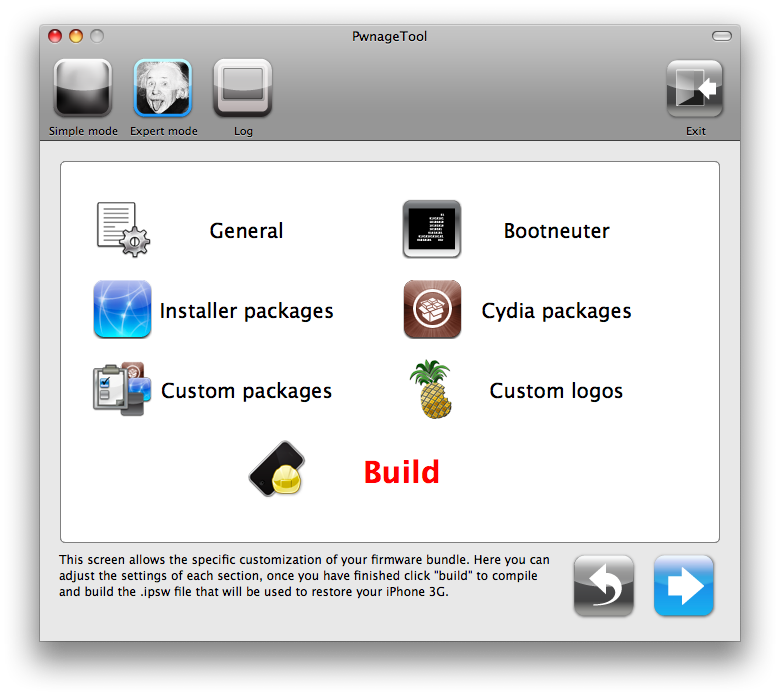
You will then be brought to a menu with 7 choices. Click to select General then click the blue arrow button.
The General settings allows you to decide the partition size. Click activate the phone and Disable partition wipe-out. Click the blue arrow button.
NOTE*: Deselect Activate if you have an iPhone legitimately activated on an official carrier.
NOTE*: You may need to increase the size of the root partition slightly. My first attempt failed at creating the IPSW until I increased the size to about 695 MB.
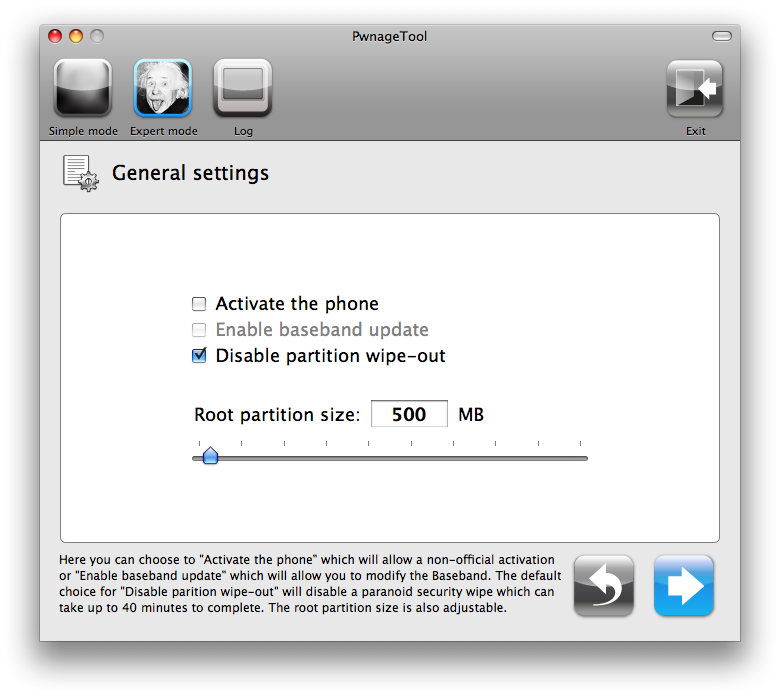
The Bootneuter settings are greyed out for the3G iPhone. Hopefully this will be enabled soon! Click the blue arrow button.

The Cydia settings menu allows you to create custom packages so you do not have to manually install the necessary them later.
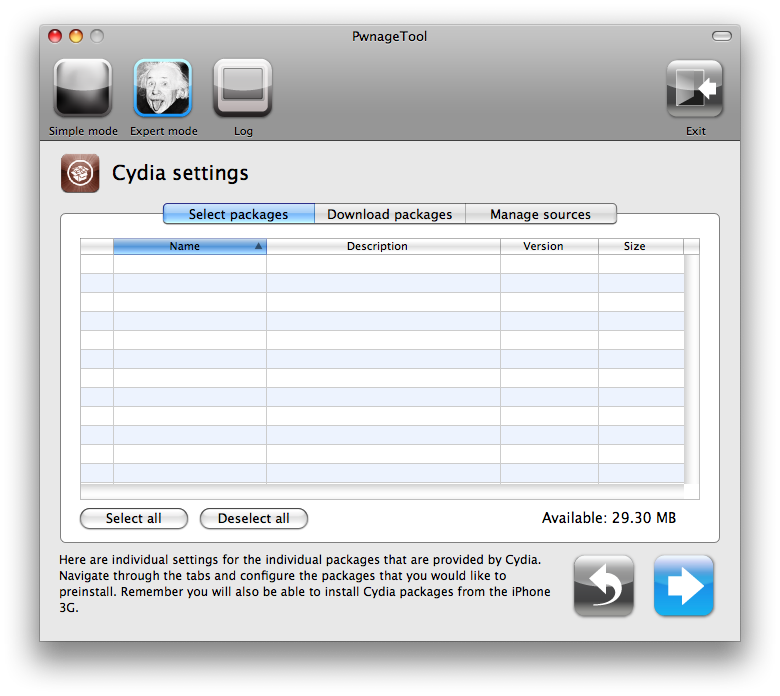
Click to select the Download packages tab. Then click the Refresh button to display all the available packages. Double clicking the package you want will download it and make it available in the Select Packages tab.
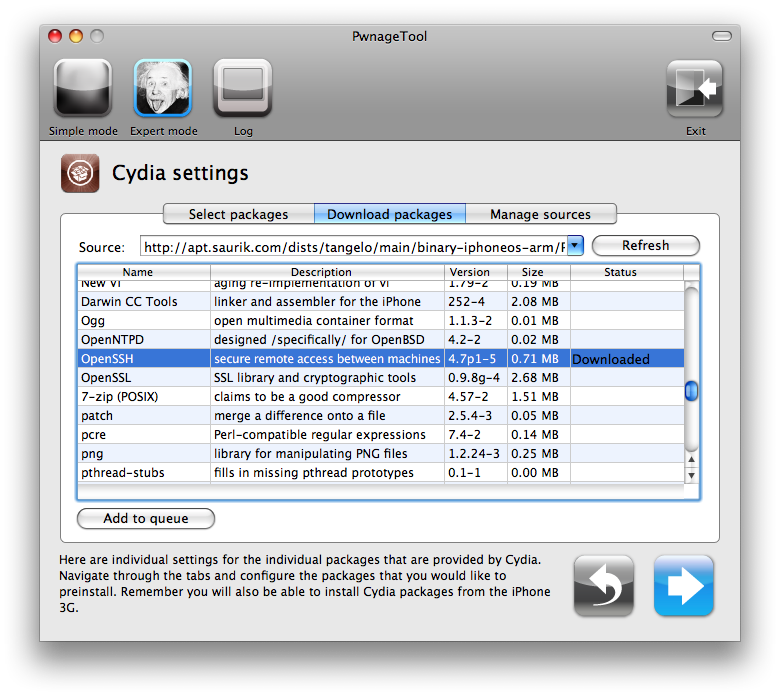
Checkmark the ones you want then Click the blue arrow button.

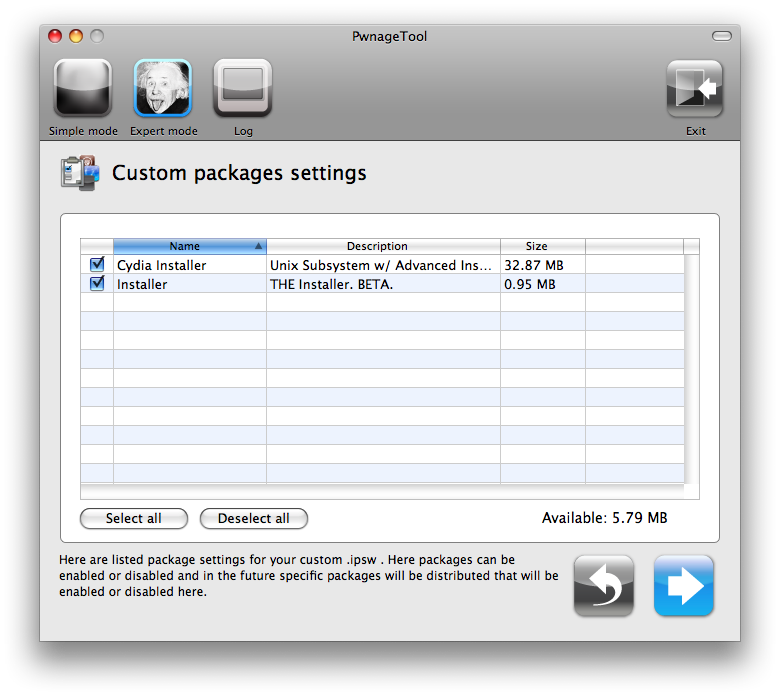
The Custom Packages Settings menu displays listed package settings for your custom IPSW. For know leave these settings as is. Click the blue arrow button to continue.
The Custom Logos Settings menu allows you to add your own images as boot logos. Click the Browse button to select your Boot logo and Recovery logo. If you would like to use the iClarified ones they can be found here: Boot Logo, Recovery Logo
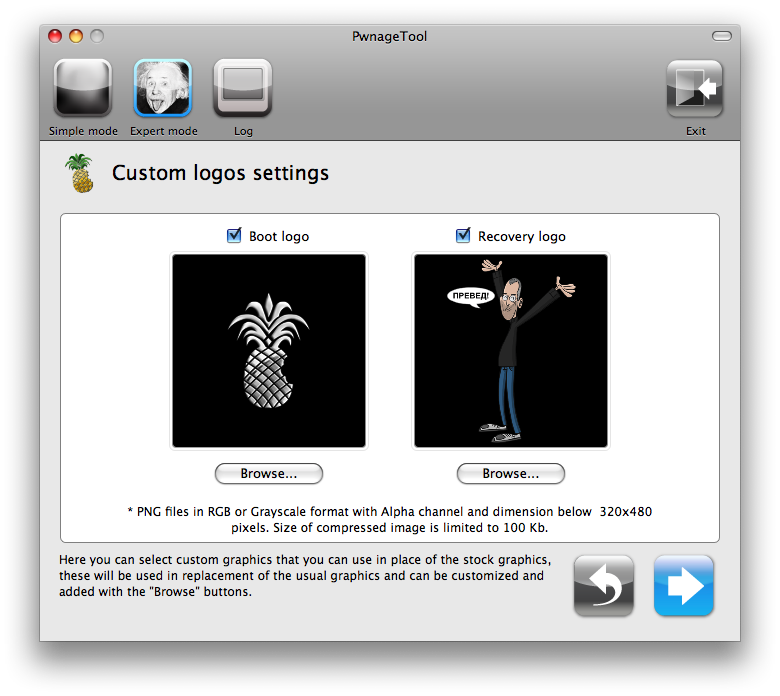
Remember the rules for them: RGB or Grayscale format with Alpha channel and dimension bellow 320x480...
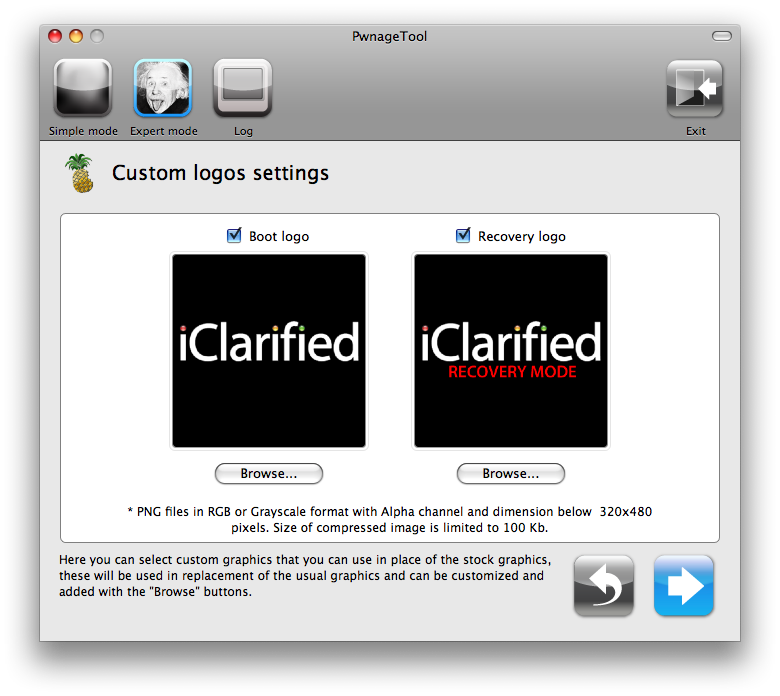
Click the blue arrow button to continue.
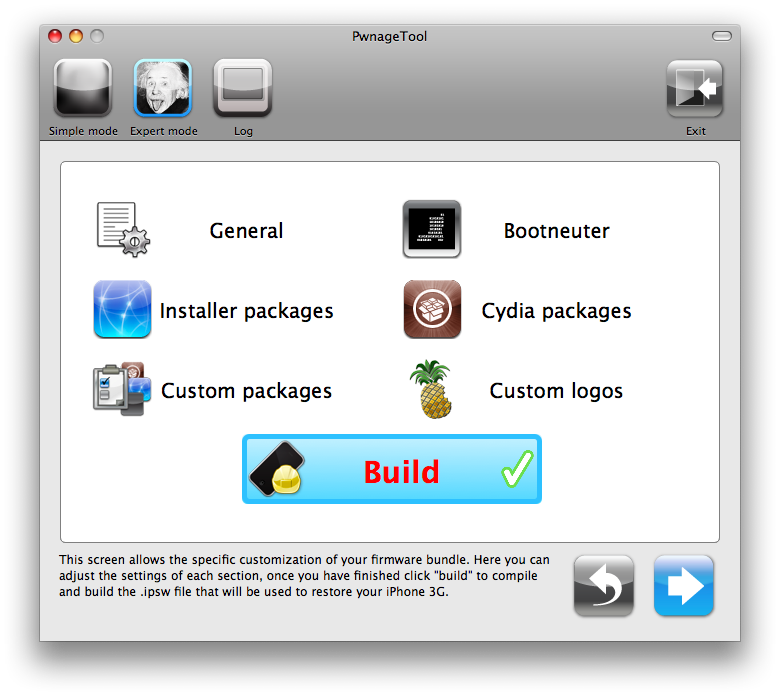
Step Seven
You are now ready to begin the pwnage process! Click the Build button to select it then click the Blue arrow button to begin.
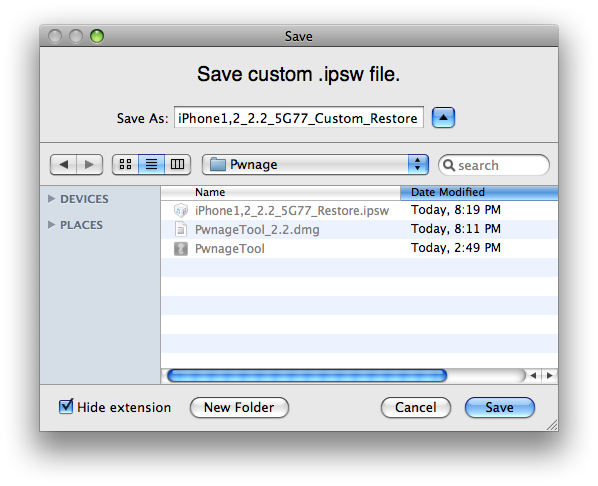
Step Eight
You will be asked to save your custom .ipsw file. Save it to your Pwnage folder you created on your Desktop.
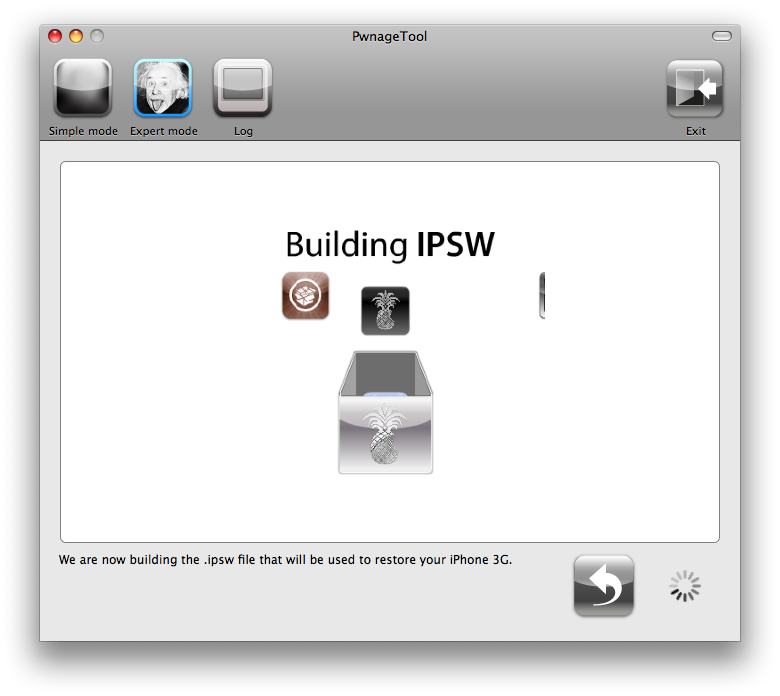
Your IPSW is not being built. Please allow up to 10 minutes.
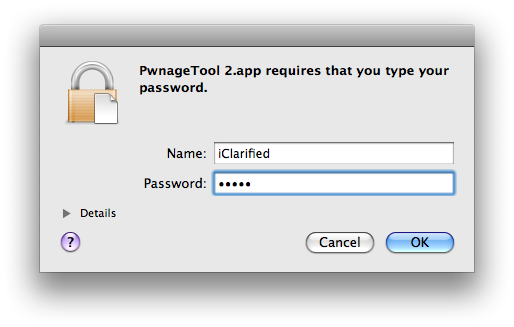
You will be asked to enter your administrator password. Do this then click the OK button.
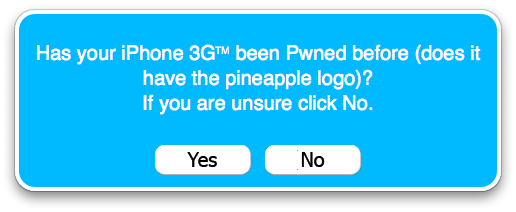
When prompted if your iPhone has been Pwned before, we clicked No. It allows for a more thorough restore.
You will be asked to turn off the device. Make sure it is connected to the USB port.
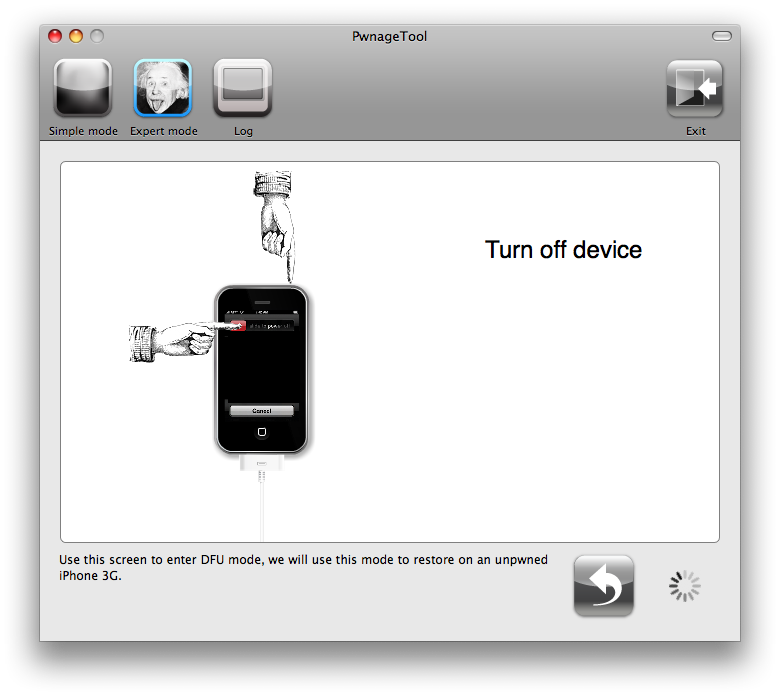
Step Nine
Be ready to follow directions now. It will ask you to hold the home button and the power button for 10 seconds. Then, you will have to release the power button and hold the home button for 10 seconds to enter DFU.

If you fail, it will show you a message. Click Yes. Unplug the iPhone from the USB. Turn it off, then turn it back on. Plug it back into the USB and turn off the iPhone when prompted.
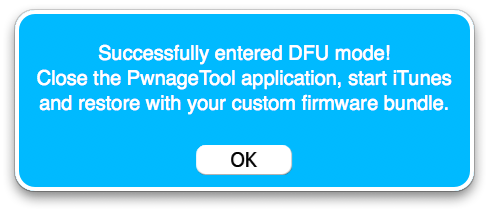
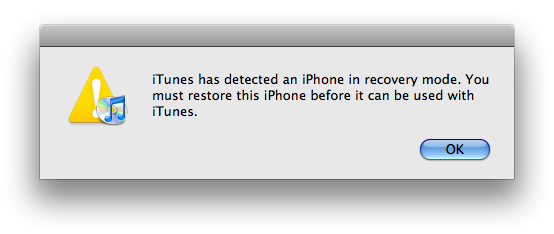
When done correctly, Pwnage 2.2 will display a message telling your that it successfully entered DFU mode. iTunes will also pop-up.
IMPORTANT***: The ‘late 2008’ MacBook/air/pro line of computers have an issue with DFU mode, it is possible to go from Pwned 2.1 -> 2.2 but going from stock to Pwned does not work, if in any doubt use a different machine. Meaning, if you have a late 2008 model MacBook and have not pwned you will have to use a different computer until we post a solution. If you have a late 2008 model MacBook and HAVE pwned then you can simply put the iPhone into recovery mode and restore with the newly created IPSW. You can find instructions on how to put the iPhone into recovery mode here
Step Ten
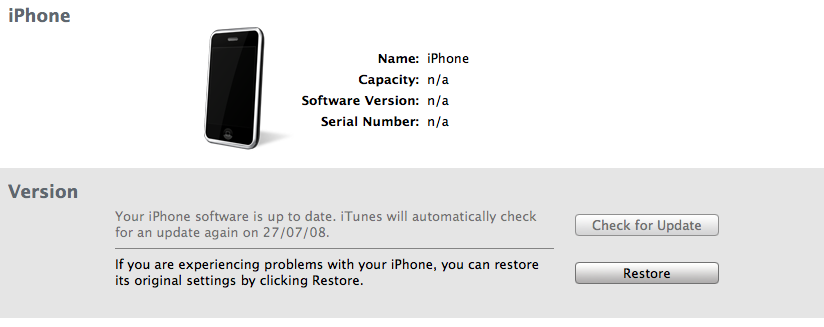
In iTunes, hold the Alt/Option button and click Restore.
Step Eleven
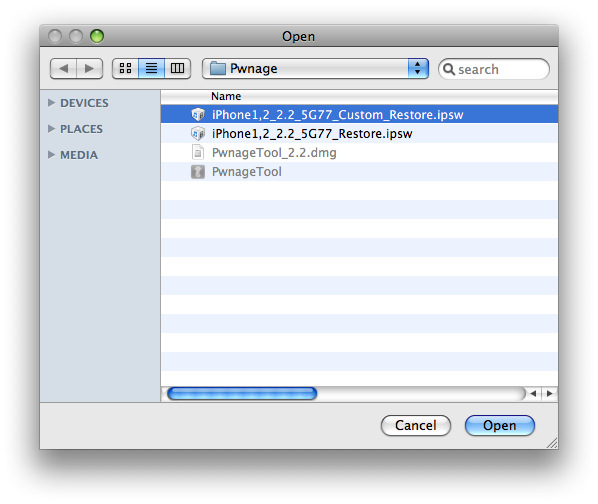
Navigate to the Pwnage folder on your desktop using the dialog window that appears. Select the custom IPSW that was created (iPhone1,2_2.2_5G77_Custom_Restore.ipsw) and click the Open button.
Step Twelve
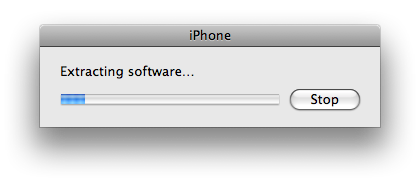
iTunes will now restore the firmware on your iPhone. This can also take up to 10 minutes.
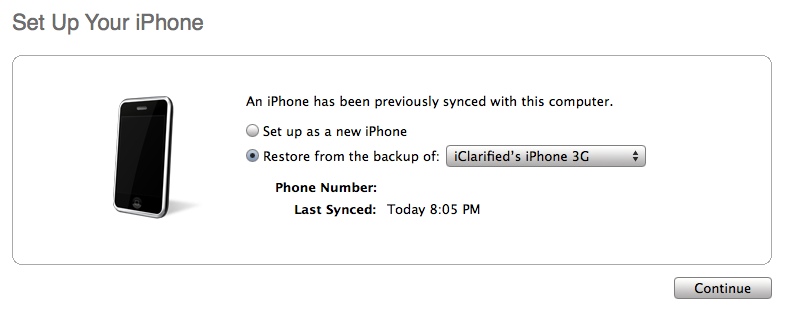
If you so desire you may restore from a previous backup to keep all your settings or set your iPhone up fresh.
Step Thirteen
Once the restore is completed your iPhone will reboot and you will notice Cydia is present on the SpringBoard!


